14-Day Glow Plan starts with smart consistency, so you can build color gradually and confidently. Therefore, instead of rushing results, you’ll create a smoother, longer-lasting glow. Moreover, you’ll reduce uneven areas, support skin comfort, and keep your tone natural. Finally, this simple schedule helps busy people stay on track, even with a full week.
1. Before You Start: Set Up Success (and Book Smart)
Before anything else, visit Megasun Solarium Larnaca for guidance, timing, and the right plan for your skin. Also, if you’re staying nearby, Rise Urban Art Hotel makes it easy to fit sessions into your day.
Meanwhile, take two quick “before” photos in the same light. Then, note your starting shade, dryness level, and any tan lines. Next, decide your goal: a soft glow, a deeper bronze, or an even tone. Therefore, your plan stays realistic and safe.
To get the best outcome, focus on three basics. First, hydration supports a smoother look. Second, gentle exfoliation keeps color even. Third, consistent timing reduces patchiness. Also, always use the provided goggles and follow recommended session lengths. Finally, if you have sensitive skin, start lighter and build gradually.
2. Day 0 Prep: Exfoliate, Hydrate, Plan
Start one day before your first session. First, exfoliate gently, especially elbows, knees, ankles, and shoulders. However, avoid harsh scrubs that leave micro-irritation. Instead, use a mild exfoliant or soft glove. Then, apply a simple moisturizer and drink extra water.
Next, remove heavy perfume, oils, or makeup before tanning. Otherwise, you may get uneven absorption. Also, choose clean, comfortable clothes afterward, because tight fabric can rub fresh color. Finally, aim for good sleep, since tired skin often looks dull.
If you want a more polished “after,” keep a mini routine. For example, moisturize daily after showering. Also, keep showers lukewarm, not hot. Therefore, your color lasts longer and fades evenly.
3. 14-Day Glow Plan: The Schedule (Simple and Effective)
-
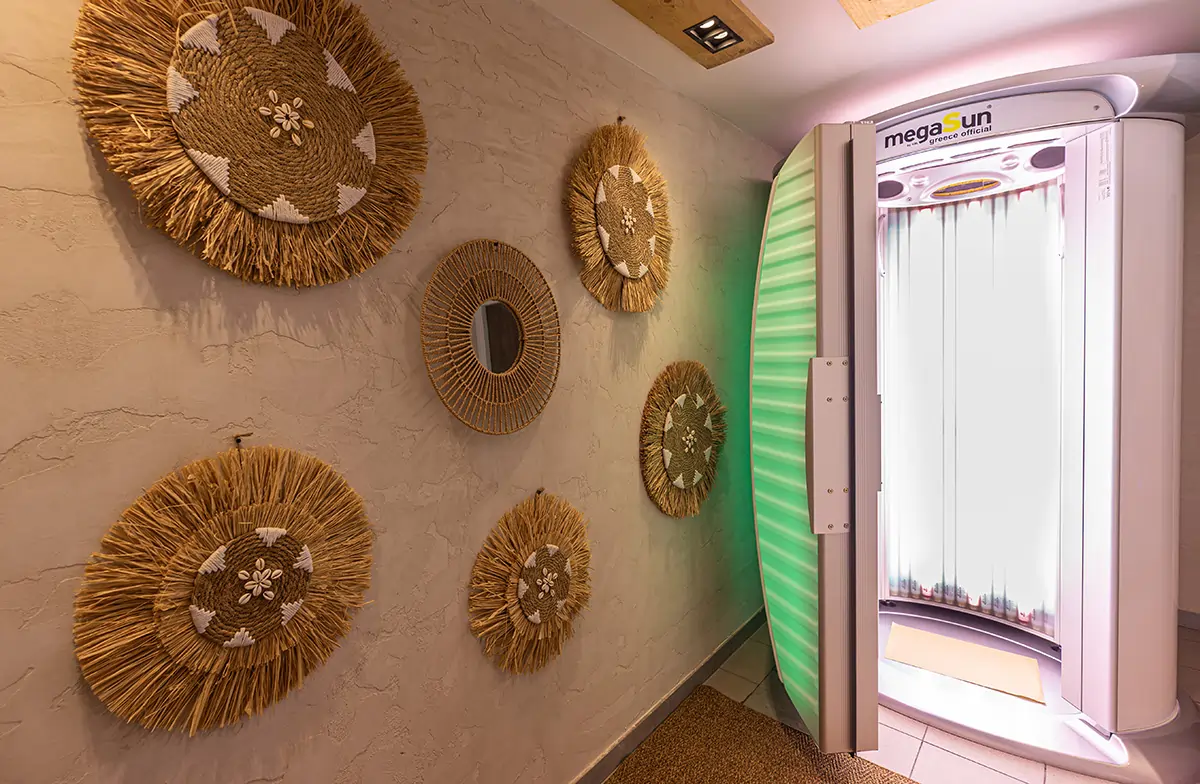
This plan uses gradual sessions, so your skin adjusts comfortably. Therefore, you build color without chasing intensity. Also, you keep the look more natural.
Days 1–2: Start Light
Go for a short, gentle session. Then, moisturize afterward. Also, avoid exfoliating again yet. Meanwhile, watch how your skin responds. Therefore, you’ll know whether to increase time slowly.Days 3–4: Repeat and Observe
Do your second session with similar timing. However, only increase slightly if your skin feels calm. Also, keep hydration high. Then, take a quick progress photo. Therefore, you’ll notice early changes even if they feel subtle.Days 5–7: Build Smoothly
Add one or two sessions, depending on your plan. Meanwhile, keep your routine steady. Also, rotate your position as advised, so you reduce missed areas. Therefore, your shoulders, sides, and legs develop more evenly.Days 8–10: Lock In the Tone
Now your color starts looking “real.” Therefore, keep sessions consistent rather than longer. Also, moisturize every day, especially after showering. Then, check elbows and knees for dryness. Therefore, those spots won’t go darker than the rest.Days 11–14: Maintain and Perfect
Finish with one or two maintenance sessions. However, avoid sudden jumps in time. Instead, stay steady and support the glow with hydration. Finally, take “after” photos in the same lighting as Day 1. Therefore, the transformation becomes clear.
4. What Your Before & After Can Look Like (Realistic Expectations)
Results vary, yet most people notice visible improvement by Day 7. Therefore, the biggest change often comes from consistency, not intensity. Also, your “after” usually looks better in real life when the skin feels smooth.
Before: you may see pale tones, dullness, or uneven sections.
After: you often see a more even golden tone, smoother-looking skin, and better photos.
Moreover, many clients report they feel more confident in sleeveless outfits. Also, the glow can help you look more “rested,” especially in warm lighting.
However, your best results depend on aftercare. Therefore, don’t skip moisturizing. Also, don’t over-exfoliate mid-plan. Instead, keep it gentle and steady.
5. The “Even Glow” Tricks Most People Miss
First, treat elbows, knees, hands, and feet carefully. Therefore, moisturize those areas lightly before a session if advised. Also, avoid heavy lotions right before tanning, unless the team recommends it.
Next, keep your posture consistent. For example, don’t press arms tightly to your sides for the entire session. Instead, allow light to reach natural creases. Therefore, you reduce pale lines.
Also, keep your skincare simple. Meanwhile, avoid strong acids or retinoids during the 14 days. Otherwise, you may increase dryness or sensitivity. Therefore, the glow won’t look as smooth.
For a cleaner “after,” use a basic checklist:
-
Drink water daily, because hydration supports skin appearance.
-
Moisturize after showers, because dryness makes tan fade faster.
-
Avoid very hot baths, because they can strip moisture.
-
Wear loose clothes after sessions, because friction can dull fresh color.
If you want local tips for planning your glow around your trip, check Larnaka Region for events and seasonal vibes. Also, you can explore island travel ideas on Visit Cyprus. Therefore, you can time your glow for photos, festivals, and weekends.
Your 14-day transformation works best with steady timing, simple skincare, and smart aftercare. Therefore, follow the plan, keep moisture high, and enjoy the confidence boost. If you want the smoothest before-and-after, book your sessions early and stay consistent.
Hydrating Solarium Lotions Winter: Solarium Sessions for Post-Holiday Recovery: Glow After Travel
BLOG
Discover the Latest in Tanning and Skin Care
Stay updated with the newest tips and trends in tanning and skincare from our blog. Learn how to achieve the perfect tan, care for your skin, and explore the benefits of our solarium.
Indoor Tanning Before Vacation: Why It Helps Avoid…
Relaxing tanning routine tips: Learn how to create a calm and…